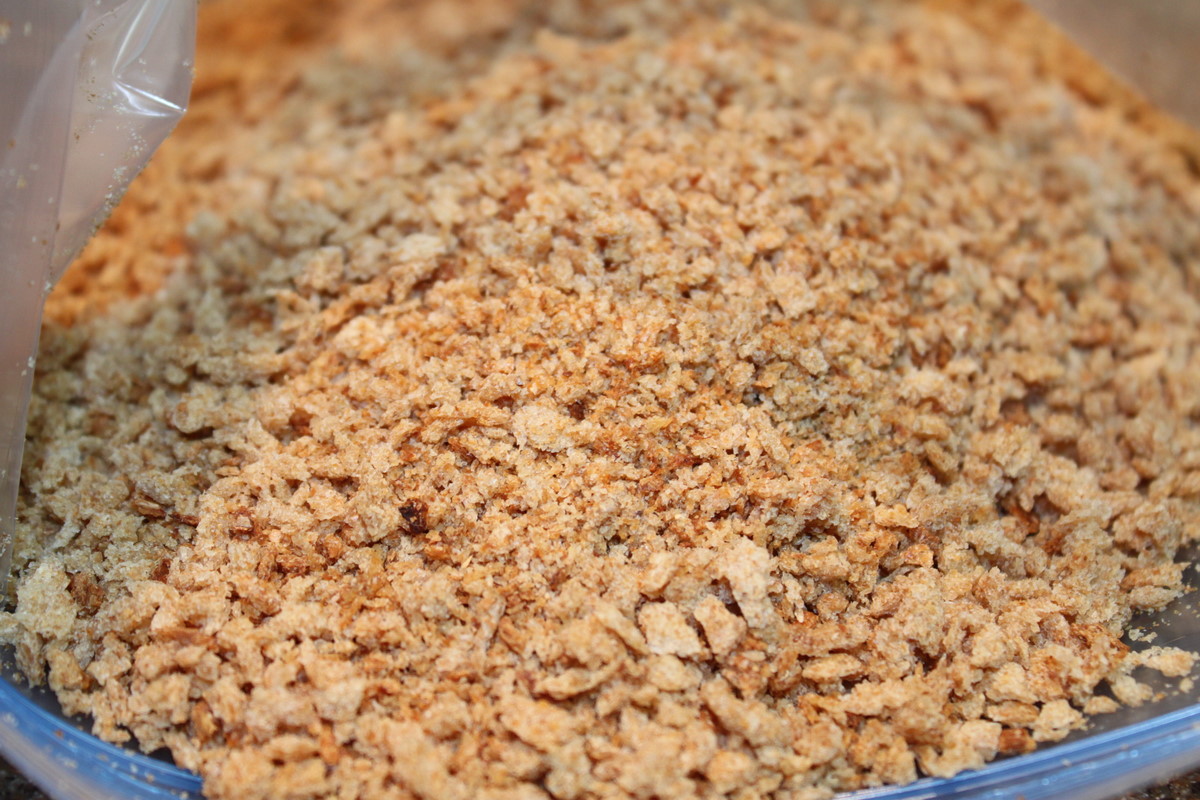
how to make your own breadcrumbs for chicken Back to basics: how to make your own unique chicken breading
When it comes to cooking, there’s nothing quite as satisfying as making something from scratch. Whether it’s a pie crust or a homemade sauce, the satisfaction of creating something delicious with your own two hands is unparalleled. And when it comes to breadcrumbs, the same holds true. Sure, you could buy a canister of pre-made breadcrumbs at the store, but why not try making your own? It’s surprisingly easy, and the results are infinitely more flavorful. To get started, you’ll need a few basic ingredients: stale bread, olive oil or melted butter, salt, and any additional seasonings you like. If you have a food processor, great! If not, don’t worry - we’ll cover both methods below. If you’re using a food processor, start by cutting your stale bread into rough chunks and adding them to the bowl of the processor. Pulse the bread until it reaches your desired consistency - for fine breadcrumbs, pulse for longer, and for coarser breadcrumbs, pulse less. If you don’t have a food processor, you can achieve the same result by placing your bread in a plastic bag and using a rolling pin or heavy object to crush it into crumbs. Once you have your breadcrumbs, it’s time to season them. Add a generous pinch of salt, some freshly ground black pepper, and any additional seasonings you like. Some ideas include garlic powder, onion powder, paprika, or dried herbs like thyme or rosemary. Toss the breadcrumbs to evenly distribute the seasonings. Next, you’ll want to add some fat to your breadcrumbs. This will help them toast up nicely in the oven and give them a rich, savory flavor. You can use either olive oil or melted butter - both work equally well. Drizzle the fat over the breadcrumb mixture and use your hands to toss everything together until the breadcrumbs are evenly coated. Spread your seasoned breadcrumbs out in a single layer on a baking sheet and bake at 350 degrees Fahrenheit for 10-15 minutes, or until they’re golden brown and crispy. Be sure to stir the breadcrumbs every 5 minutes or so to ensure they toast evenly. Once your breadcrumbs are done, it’s time to start using them! They’re great for adding crunchy texture to casseroles, meatloaf, and roasted vegetables, or for breading chicken or fish. And the best part? They can be stored in an airtight container at room temperature for up to a week, so you’ll always have a homemade breadcrumb option on hand. So there you have it - a simple, satisfying way to elevate your cooking game and make something delicious from scratch. Give it a try and impress your family and friends with your homemade breadcrumbs!
If you are searching about back to basics: how to make your own unique chicken breading | Diy food you’ve came to the right web. We have 5 Images about back to basics: how to make your own unique chicken breading | Diy food like back to basics: how to make your own unique chicken breading | Diy food, Money Saving Tip: How to make your own breadcrumbs and also back to basics: how to make your own unique chicken breading | Diy food. Read more:
Back To Basics: How To Make Your Own Unique Chicken Breading | Diy Food
 www.pinterest.comunique
How To Make Your Own Breadcrumbs – Smitten Kitchen
 smittenkitchen.combreadcrumbs own make navigation post
Wholesome Dinner Tonight: Breadcrumbs - How To Make Your Own
 wholesomedinnertonight.blogspot.combreadcrumbs
Money Saving Tip: How To Make Your Own Breadcrumbs
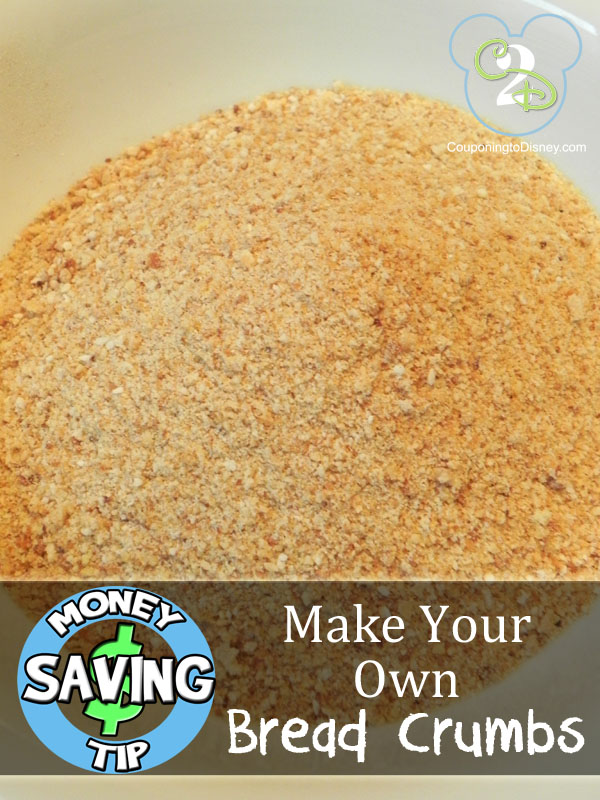 www.couponingtodisney.comown make breadcrumbs tip crumbs bread marci reader comes could did know
How To Make Your Own Breadcrumbs (With Or Without Food Processor)
 whereismyspoon.cobreadcrumbs make processor without food own use
Back to basics: how to make your own unique chicken breading. Breadcrumbs make processor without food own use. How to make your own breadcrumbs (with or without food processor)